Achieve Kubernetes Cost Optimization in 9 Steps

Kubernetes cost optimization is essential as businesses scale, yet challenges like networking, storage, tracking, and monitoring can make this process difficult. So, while running Kubernetes doesn’t have to be expensive, certain factors can lead to unnecessary costs.
But how does this happen? In a nutshell, many businesses use configurations from early testing phases without adjusting for production costs, which leads to overspending.
In this article, we’ll explore strategies for optimizing Kubernetes costs, with a focus on AWS users, where Amazon EKS is the most common container management approach.
What Is Kubernetes Cost Optimization?
In 2024, Kubernetes remained one of the most popular options in the containerization technologies market, ranking second in adoption. This widespread use is a testament to its robust features, including high availability, automated scaling, and disaster recovery. However, while these capabilities offer great benefits, they can also lead to increased costs if not carefully managed.
Kubernetes cost optimization refers to the strategies and best practices used to reduce unnecessary expenses while running applications on Kubernetes. Since Kubernetes dynamically manages containers across cloud or on-premises infrastructure, costs can quickly add up due to overprovisioned resources, inefficient scaling, and unused workloads.
Why It Matters
While Kubernetes is excellent at optimizing resource allocation, inefficient configurations can still result in significant overspending on cloud infrastructure. This makes Kubernetes cost optimization essential for businesses, helping them fully leverage its scalability and automation features without exceeding budget limits.
Implementing cost-saving strategies, such as rightsizing workloads, autoscaling, and monitoring resource usage, can help organizations maximize Kubernetes' benefits while reducing cloud expenses.
What Contributes to Kubernetes Costs?
Understanding what drives Kubernetes costs is key to managing and optimizing your cloud expenses. Here are some of the main contributors:
1. Resource Overprovisioning
Kubernetes lets you define the resources that each container needs. But sometimes, resources are allocated too generously, which happens when you overestimate resource requirements. So, you may end up paying for more than you actually need.
2. Inefficient Autoscaling
Kubernetes comes with autoscaling features that adjust resources based on workload demand. But if you don’t optimize the autoscaling settings, it may lead to over-allocation or failure to release unused resources, driving up costs when they could be reduced.
3. Idle Workloads and Unused Resources
Even when workloads are inactive, they may still consume valuable cloud resources. This often happens when containers or services aren’t properly shut down or scaled down when they’re no longer needed. As a result, you're paying for resources that aren’t doing anything for you.
4. Managing Multiple Clusters
Running multiple Kubernetes clusters can add complexity and costs, particularly when it comes to the resources required for monitoring, security, and maintenance. If you don’t manage these clusters well, the additional infrastructure and support can end up costing you more than expected.
5. Network and Data Transfer Costs
Kubernetes often handles communication across clusters, which can result in significant network traffic. If not carefully managed, data transfers across regions or between on-premises and cloud environments can add up quickly and lead to extra charges.
6. Storage Expenses
Kubernetes requires persistent storage for stateful applications. But if storage volumes aren’t managed well, it's easy to end up paying for unused or over-allocated storage.
7. Lack of Monitoring and Optimization
Without the right monitoring tools, it's easy for a Kubernetes cluster to run inefficiently. If you're not keeping an eye on resource utilization and making adjustments, you may miss opportunities to optimize and cut unnecessary costs.
8. Cloud Vendor Pricing
The cost of running a Kubernetes cluster can vary depending on your cloud provider and their pricing models. Cloud services charge differently for the resources Kubernetes uses, such as compute, storage, and networking, which is why you should be mindful of the pricing structure.
9. Application Resource Demands
Some applications naturally require more resources to run efficiently in containers. If an application isn't optimized for Kubernetes, it can end up using more resources than necessary and drive up costs.
10. Over-Allocating Services or Components
Kubernetes clusters often rely on additional services like logging, monitoring, or CI/CD tools. If these services are over-allocated or not scaled properly, they can increase costs by consuming more resources than needed.
9 Steps to Effective Kubernetes Cost Optimization
Our step-by-step guide will make your Kubernetes cost management as simple as possible:
1. Monitor Costs
This is the most logical step towards starting to manage your Kubernetes costs more efficiently. Kubernetes cost monitoring should show you how you’re spending your money when it comes to Kubernetes. More importantly, it will help you identify saving opportunities.
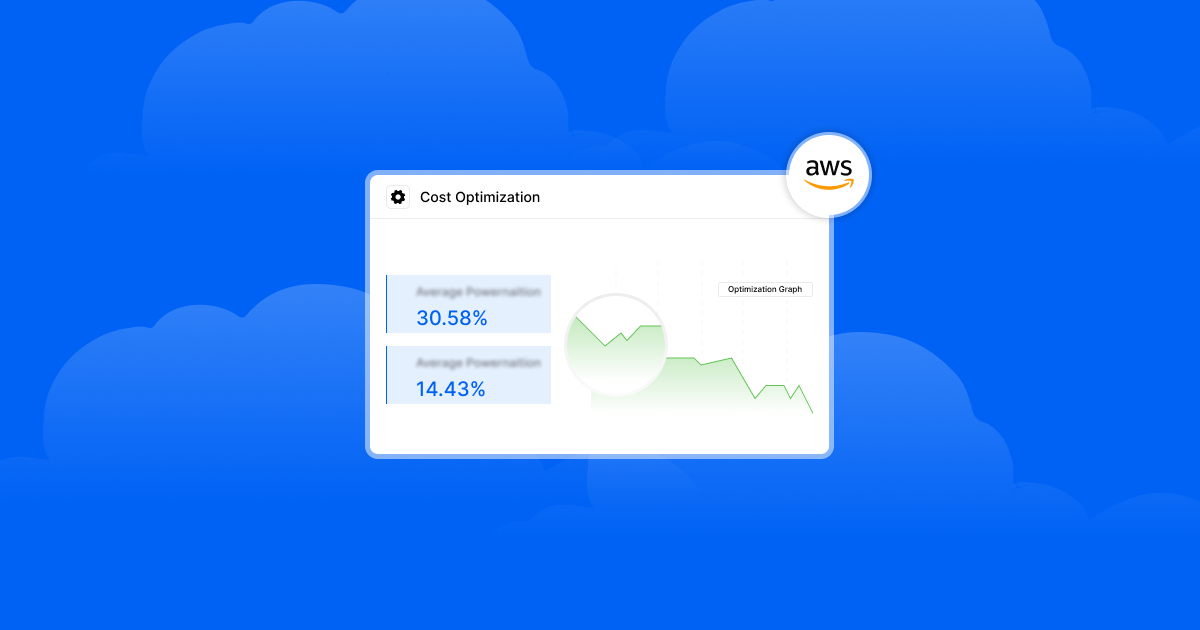
Cloud vendors offer billing summaries that provide information about what you’re paying for. However, they will usually only include a simple overview that is only slightly useful for multi-tenant Kubernetes clusters. This is inaccessible in private clouds, so it makes more sense to use external software like Microtica to monitor Kubernetes consumption.
Choose the tools you'll use and how you’re going to monitor your Kubernetes costs. Then, start implementing more concrete actions for Kubernetes cost optimization.
2. Limit Resources
Resource limits guarantee that no program or operator of the Kubernetes system uses too much processing power.
Limiting resources is crucial, especially if many of your developers have direct access to Kubernetes. They ensure that available resources are shared fairly, reducing the overall cluster size. Without limitations, one person could use up all the energy. This would prevent others from working, resulting in a need for more computational resources overall.
Developers can enforce limits in two ways. First, reactively, when the system detects a violation. The second way is by enforcement, which means that the system never allows the container to go over the limit. They can implement the same constraints in various ways for different runtimes.
However, be careful not to limit your resources without balance. Engineers and software cannot function properly if resource limits are too low, and they are often worthless if they are too high.
3. Autoscale
Autoscaling means paying for what you need, which is why it’s recommended to adjust the size of your clusters to your specific needs. You can allow Kubernetes autoscaling to be able to adapt to quick variations.
There are two types of autoscaling available: horizontal and vertical. Horizontal autoscaling adjusts the number of pods based on demand. It adds more pods when the load is high and removes them when the load decreases. On the other hand, vertical autoscaling adjusts the resources (CPU, memory) of individual pods based on the workload. It increases resources when needed and reduces them when demand drops.
While these methods help match your computational resources to actual needs, they may not be perfect for every use case. However, when implemented correctly, both types of autoscaling can be powerful tools for optimizing Kubernetes costs, helping to avoid overprovisioning and reducing waste.
4. Choose the Right AWS Instance
AWS Kubernetes costs are directly impacted by the AWS instances developers use to manage Kubernetes clusters. Instances come in various forms, with varying memory and compute resource combinations. Kubernetes pods are the same way, with different resource allocations.
The key to keeping AWS Kubernetes costs under check is to make sure pods stack effectively on your AWS instances. The size of your AWS instance should match the size of your pod.
The scale, number, and historical resource utilization trends of pods all affect the decision to use an AWS instance. Applications may have different storage or CPU requirements, which also affect the type of instance to use.
Ensuring that the Kubernetes pods' resource consumption correlates to the overall CPU and memory available on the AWS instances they use is critical for optimizing resource use and lowering AWS costs.
5. Use Spot Instances
AWS instances are available in several billing profiles: on-demand, reserved, and spot instances.
On-demand instances are the most costly but have the best degree of flexibility. Spot instances have the lowest price. However, they can be terminated with a 2-minute warning. You may also get reserved instances for a set amount of time to save costs. As a result, the choice of instance form has a direct effect on the cost of operating Kubernetes on AWS.
Spot instances can be utilized for workloads that you don't permanently need, and that can handle many interruptions. AWS states that leveraging spare capacity can help you save up to 90% compared to On-Demand EC2 prices.
6. Set Sleeping Schedules
No matter whether you run Kubernetes clusters on on-demand, reserved, or spot instances, ensuring that underutilized clusters are terminated is crucial for cost management. AWS EC2 expenses are calculated based on the duration for which instances are provisioned. Even though underutilized instances consume more resources than necessary, they still incur the full cost of running an instance.
To put it simply, if a development team uses a cloud-based Kubernetes environment only during business hours, they are paying for unused time if the environment remains active outside those hours. For example, if they work 40 hours a week but the environment runs continuously, they end up paying for an additional 128 hours of unused time. While this may not apply to all teams (especially those with flexible working hours), turning off environments when they are not needed can significantly optimize Kubernetes costs.
Developers can automate this by implementing a sleep schedule, ensuring environments wake up only when needed. This automation scales down unused resources while preserving the environment’s state. Additionally, the system will "wake up" seamlessly when required, preventing workflow disruptions.
Microtica’s cost optimizer simplifies setting up sleep schedules, helping users save up to 70% on non-production environments.
7. Practice Regular Kubernetes Cleanup
If you give engineers full access to build namespaces on demand or use Kubernetes for CI/CD, you can end up with many unused objects or clusters that are still costing you money. Even if you have a sleep mode that decreases computational resources, it is only for momentarily inactive resources, which retain storage and configuration. That's why removing some of your resources that have been inactive for a very long time is a smart move toward Kubernetes cost optimization.
8. Right-Size Your Kubernetes Cluster
Managing a Kubernetes cluster is different for each case. There are various methods for correctly sizing your cluster, and it is important to develop your application for consistency and durability. As a programmer, you'll frequently need to consider the specifications for the applications you'll be running on your cluster before building it.
Right-sizing your nodes is very important when designing apps for scale. A large number of small nodes and a small number of large nodes are two very different things. The best approach is to find the right balance between these two.
9. Tag Resources
Tagging resources is a smart idea in any environment, whether cloud, on-premises, or containers. Services are bound to go unnoticed in enterprise Kubernetes environments with numerous test, staging, and development environments. Even though they aren't used, these services become a chronic burden on AWS prices. Therefore, companies should use tagging to guarantee that all services are controlled.
AWS provides a robust tagging scheme that you can use to mark services belonging to Kubernetes. You may use these tags to stay on top of Kubernetes resource optimization. Effective tagging allows you to classify and eliminate unused services easily. You'll be able to assign costs and view expense breakdowns for various services once these tags are enabled in the AWS Billing dashboard.
Final Words
The first step in your Kubernetes cost optimization is to create an outline and begin monitoring them. Then, to avoid unnecessary computational resource usage, you can set limits, which would make the costs more manageable.
Determining the best size for your resources critical for cost reduction, and autoscaling will also help. If you use AWS, you can check their less costly options, like spot instances. Additional steps to remove idle resources include an automated sleep schedule and cleaning unused Kubernetes resources. Finally, you can implement automated Kubernetes cost optimization to speed up this process.
FAQs
Is Kubernetes Expensive to Run?
With good Kubernetes cost optimization, it doesn’t have to be. Before you run Kubernetes, consider factors that can drive up costs, like overprovisioned resources, inefficient scaling, and unused workloads, and how you would eliminate them.
How Can I Save Money on Kubernetes?
You can save money on Kubernetes by rightsizing your workloads, enabling autoscaling, and regularly monitoring your clusters to identify unused or underutilized resources.
Subscribe to receive the latest blog posts to your inbox every week.
*By subscribing you agree to with our Privacy Policy.

Relevant Posts